
Have you noticed water escaping from your shower, forming mysterious puddles on your bathroom floor? It might be time to tackle a common culprit of this watery escape act: worn-out shower door seals. These inconspicuous yet vital components often go unnoticed until they start causing trouble. Say goodbye to soggy bathroom floors and hello to a dry and enjoyable shower experience. Let’s dive in and make your bathroom a watertight sanctuary once again in association with Solex Glass & Mirrors LLC.

In this comprehensive guide on “Shower Glass Solutions: Replacing Worn-out Shower Door Seals for a Water-Tight Seal,” we’ll take you on a journey to regain the watertight integrity of your shower enclosure. From understanding the importance of these seals to step-by-step instructions on identifying, removing, and replacing them, we’ve got you covered. Whether you’re a seasoned DIY enthusiast or new to home repairs, our expert advice and practical tips in the realm of shower glass solutions will ensure your shower remains dry and leak-free.
Importance of Shower Door Seals
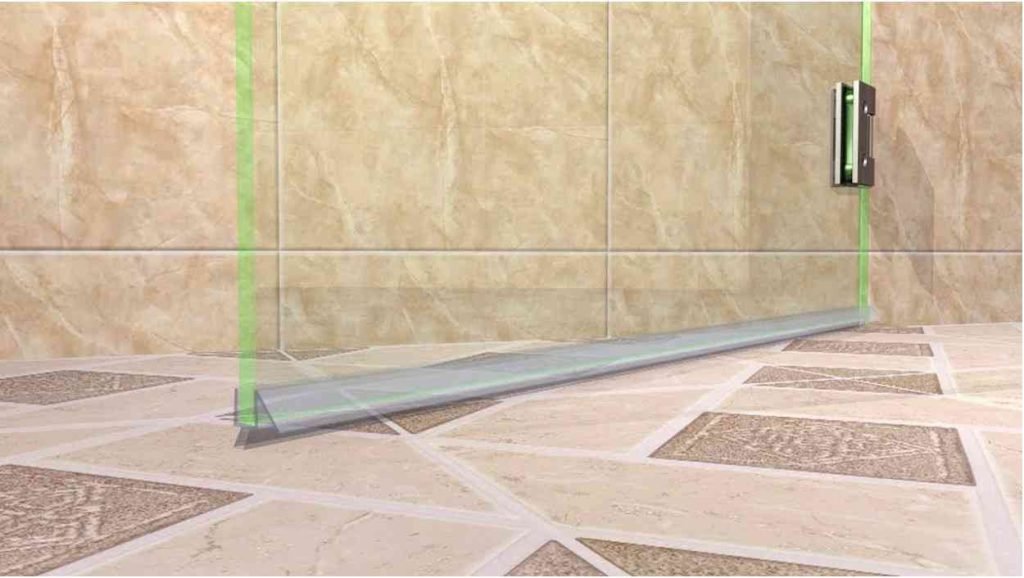
Shower door seals are often the unsung heroes of your bathroom, quietly performing the crucial task of keeping water where it belongs: inside the shower enclosure. Understanding their significance is the first step in ensuring a dry and hassle-free showering experience. These seals prevent water from leaking onto your bathroom floor, which can lead to slippery surfaces, mold growth, and structural damage over time. The importance of shower door seals becomes evident when they wear out, causing leaks and potentially expensive water damage, just as understanding the characteristics of different shower glass types is crucial for a well-informed choice in bathroom design.
Identifying Worn-Out Seals
Identifying worn-out shower door seals is a critical skill for ensuring the longevity of your shower enclosure and preventing water leaks. Over time, these seals can deteriorate due to exposure to moisture, cleaning agents, and general wear and tear. Signs of wear include cracks, tears, discoloration, or a loss of flexibility. You may notice water seeping out during showers or puddles forming on the bathroom floor, highlighting the need for immediate action. Similar attention to detail is vital when following shower glass maintenance tips for Conroe, as regular care can prevent issues and maintain the aesthetics of your glass doors. By recognizing these indicators of seal wear and implementing proper maintenance, you can ensure a watertight enclosure and the longevity of your shower glass.
Tools and Materials You’ll Need
Before diving into the replacement process, gather the necessary tools and materials. Having everything at hand will streamline the project and save you from unexpected interruptions. Typical tools include a utility knife, a screwdriver, pliers, and a measuring tape. You’ll also need a replacement seal made of the appropriate material and size for your shower door. Ensuring you have all the essential tools and materials ready will help make the replacement process more efficient and straightforward, just as the benefits of professional shower glass installation include expert handling and efficient completion of the task, ensuring your shower enclosure’s long-term performance and aesthetics.
Safety Precautions Before You Begin
Prioritize safety before you start replacing shower door seals. Ensure the bathroom floor and surrounding area are dry to prevent slipping hazards. If you’re working with glass shower doors, handle them with care to avoid breakage or sharp edges. Keep any cleaning agents or chemicals away from your eyes and skin and use them in a well-ventilated area. If you’re uncertain about any aspect of the replacement process, consider seeking professional assistance to minimize the risk of injury or damage. Safety should always be the top priority when tackling DIY projects in the bathroom.
Step 1: Removing the Old Seal
The first step in replacing worn-out shower door seals is to remove the old, damaged seal. Start by gently prying the seal away from the door or frame, using a screwdriver or pliers as needed. Be cautious not to scratch or damage the shower door or surrounding surfaces during this process. Remove any remaining adhesive or debris from the area, ensuring a clean surface for the new seal to adhere to. This step sets the stage for a smooth replacement process and ensures that the new seal will fit securely and provide a water-tight seal.
Step 2: Cleaning and Preparing the Area
After removing the old seal, thoroughly clean and prepare the area where the new seal will be installed. Use a mild cleaning solution and a soft cloth to remove any dirt, soap scum, or residue from the door or frame. Make sure the surface is completely dry before proceeding with the installation. A clean and dry surface will ensure proper adhesion of the new seal and contribute to its longevity. Take your time during this step to ensure that no debris or contaminants remain, as they can affect the effectiveness of the new seal.
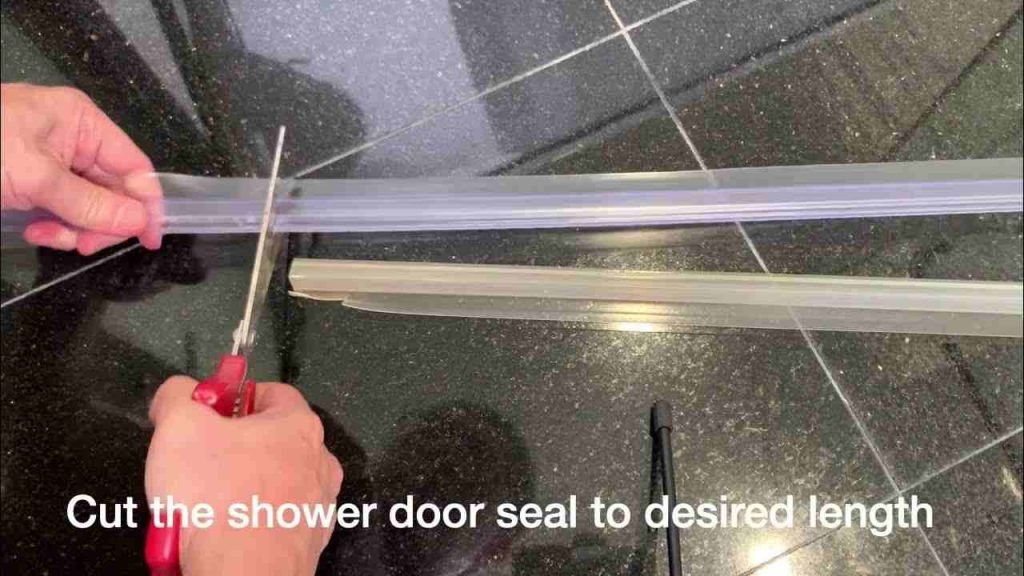
Step 3: Measuring for a Proper Fit
Measuring for a proper fit is a crucial step in the replacement process. Accurate measurements ensure that the new seal will fit the dimensions of your shower door or frame precisely. Use a measuring tape to determine the length of the seal needed, and make note of any specific angles or corners that require special attention. Keep in mind that shower door seals come in various shapes and profiles, so selecting the right one that matches your measurements is essential. Take your time with this step to avoid purchasing the wrong size seal, which can result in a less effective water-tight seal.
Step 4: Selecting the Right Replacement Seal
Selecting the right replacement seal is pivotal to achieving a water-tight and durable solution. There are various types of seals available, including sweep seals, magnetic seals, and adhesive seals. Each type serves a specific purpose and offers distinct advantages. Consider factors such as the door’s design, the existing seal type, and your preferences when choosing a replacement. Additionally, ensure that the seal material is suitable for wet and humid conditions to prevent premature wear and tear. By carefully selecting the appropriate replacement seal, you can ensure that it not only fits correctly but also performs effectively over time.
Step 5: Installing the New Seal
With the old seal removed, the area cleaned and prepared, and the replacement seal selected, it’s time to install the new seal. Follow the manufacturer’s instructions and any specific guidance provided with the seal. Typically, you’ll need to peel off any backing to expose the adhesive side and carefully apply the seal to the door or frame, ensuring it aligns with the measurements you’ve taken. Press firmly to ensure proper adhesion. Pay close attention to any corners or angles, as these areas may require extra care to ensure a secure fit. Proper installation is crucial to achieving a water-tight seal and preventing future leaks.
Step 6: Testing for a Water-Tight Seal
After installing the new seal, it’s essential to test for a water-tight seal to confirm that the replacement was successful. Close the shower door and run water at various pressure levels to simulate showering conditions. Observe the seal to ensure that it effectively prevents water from escaping the enclosure and that there are no leaks or drips. If you notice any areas where water escapes, inspect the seal’s placement and adhesion, and make any necessary adjustments or reinstallation. Testing for a water-tight seal provides peace of mind and confirms that your efforts have resulted in a dry and leak-free shower experience.
Maintenance Tips for Longevity
To ensure the longevity of your newly installed shower door seal, consider implementing regular maintenance practices. Keep the seal clean and free from soap scum, mildew, or other contaminants that can compromise its effectiveness. Periodically inspect the seal for signs of wear, such as cracks or loss of flexibility, and replace it promptly if needed. Avoid using abrasive cleaning agents or harsh chemicals on the seal, as these can accelerate deterioration. By incorporating these maintenance tips into your routine, you can extend the life of your shower door seal and continue to enjoy a water-tight enclosure for years to come.
Conclusion:
In conclusion, replacing worn-out shower door seals is a vital maintenance task that ensures the integrity of your shower enclosure. Understanding the importance of these seals, identifying signs of wear, and following the step-by-step replacement process are key to achieving a water-tight seal and preventing costly water damage. Safety precautions, accurate measurements, and selecting the right replacement seal are essential considerations throughout the process. Regular maintenance practices, such as keeping the seal clean and inspecting it for wear, contribute to its longevity. By taking these steps and prioritizing the upkeep of your shower door seals, you can enjoy a dry and leak-free shower experience, preserving both the functionality of your bathroom and your peace of mind.
FAQs:
FAQ: How do I know if my shower door seals need replacement?
Signs include cracks, tears, discoloration, or water leaks onto the bathroom floor during showers.
2. FAQ: What tools do I need to replace shower door seals?
You’ll typically need a utility knife, screwdriver, pliers, measuring tape, and the replacement seal of the appropriate type and size.
3. FAQ: Can I clean shower door seals with harsh chemicals?
It’s best to avoid abrasive or harsh chemicals, as they can accelerate seal deterioration. Use mild cleaning agents and soft cloths.
4. FAQ: How often should I inspect and replace shower door seals?
Regularly inspect seals for signs of wear. Replacement frequency depends on usage but may range from several years to a decade or more.
5. FAQ: Are there specific seal types for different shower door designs?
Yes, various seal types, including sweep seals, magnetic seals, and adhesive seals, are designed to suit different shower door configurations.